Good morning Guys, Earlier we learned how to draw spring or Helix in AutoCAD by using the Helix command. Now we will learn about the Donut command in AutoCAD, How to use the Donut command in AutoCAD
Now we will learn how to draw Donuts in AutoCAD. So, let’s start.
About Donut Command in AutoCAD
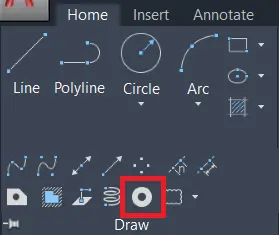
In the Draw panel, many options are available related to the line.
We can see this by clicking on the draw drop-down menu.
Spline fit, Spline CV, Multiple points, Construction line, Ray, Multiline, Divide, Measure, Region, Helix, Donut, Revision clouds, etc options are available in the draw panel drop-down menu.
We will learn them one by one.
Donut command in AutoCAD
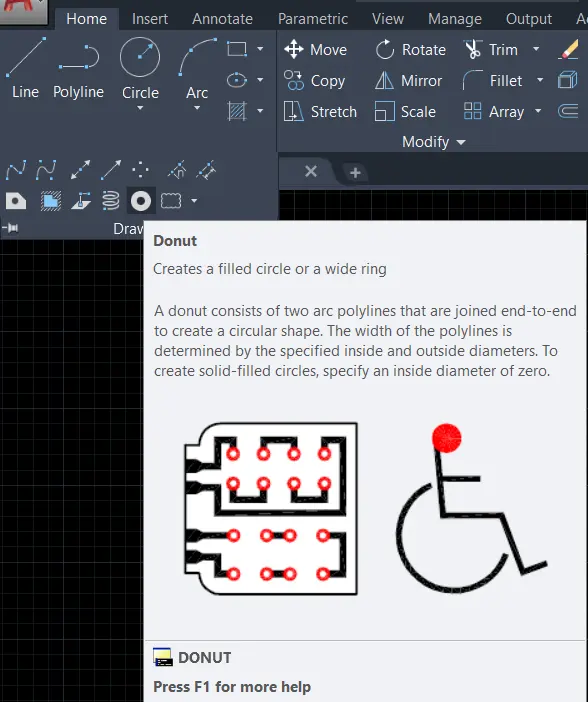
1. This command is useful to draw a solid-filled circle or wide circle.
Donut command consists of two arc polylines that are joined end-to-end to create a circular shape.
2. We can invoke the Donut command by selecting a Donut tool from the draw panel drop-down menu in the Home tab.
Or type ‘DO’ in the command bar and press Enter.
3. The width of polylines is determined by the specified inside and outside diameters.
After selecting this command, give the inside diameter.
4. To create a Solid Circle, give inside direction zero.
5. After the inside diameter, give the outside diameter and press enter.
It will create a donut. We can make many copies of this donut without coming out from command.
6. To come out of this command, press ESC or Enter key or right-click by mouse.

7. As discussed, it consists of two arc polylines, we can also modify the shape by modifying the polyline arc.
If any kind of query please contact us. I hope friends will like this Article. Thank you for visiting here.
How to draw a donut in AutoCAD?
Let’s learn how to draw a donut or torus in AutoCAD.
For that, you can use the DONUT command. Here are the steps below:
- First of all, Open AutoCAD & create a new drawing.
- Then type DONUT in the command & line & press Enter.
- Alternatively, you can find the DONUT command in the Draw panel of the Home tab.
- Now you have to specify the inner diameter of the donut by typing a value & pressing Enter.
- Let’s see the example, type 1 & press Enter. Specify the outer diameter of the donut by typing a value & pressing Enter.
- Let’s see the example, type 2 & press Enter.
- Specify the center point of the donut by clicking on the drawing area or typing coordinates & pressing Enter.
- For example, click on the origin (0,0). After this process, the donut will be created with the specified dimensions & center point.
- You can also customize the donut by using the options available in the command line.
- For example, you can set the number of segments in the donut by typing SE & specifying a value.
- In the last, you can also set the thickness of the donut by typing TH & specifying a value

Know more About AutoCAD on Youtube
Also, Read Our Previous Articles
- What is AutoCAD Electrical? (99% want to Know)

- AutoCAD Student Teacher Watermark (99% A-Z Tips)
- AutoCAD Earth Ground Symbols (70% Don’t Know)..
- What Computer language was AutoCAD written in? (90% Don’t Know)
- Best 11 laptops for AutoCAD (100% You Like)

- Autodesk Takeoff 2025 | 80% of People Don’t Know (July 2025)

- AutoCAD Section Line | 100% You Don’t Know July 2025
- AutoCAD shortcut keys (80% New keys don’t Miss) July 2025
- AutoCAD 2025 software price in India (99% it’s Confusing) July 2025
- How does Autodesk clear temp files? (100% Legit Tips) July 2025


Leave a Reply