Good afternoon, today we are talking about how to import PDFs into AutoCAD 2025 and how to convert a PDF to DWG in AutoCAD 2025.
Do you know how to import PDF into AutoCAD?
Make a duplicate (copy) of the file before you start.
If you are attempting to implant a PDF from a WEB page, right-click on the connection and use “SAVE AS” to save a duplicate of the file to the work area.
Let’s see how to import a PDF into AutoCAD to attach a PDF Underlay
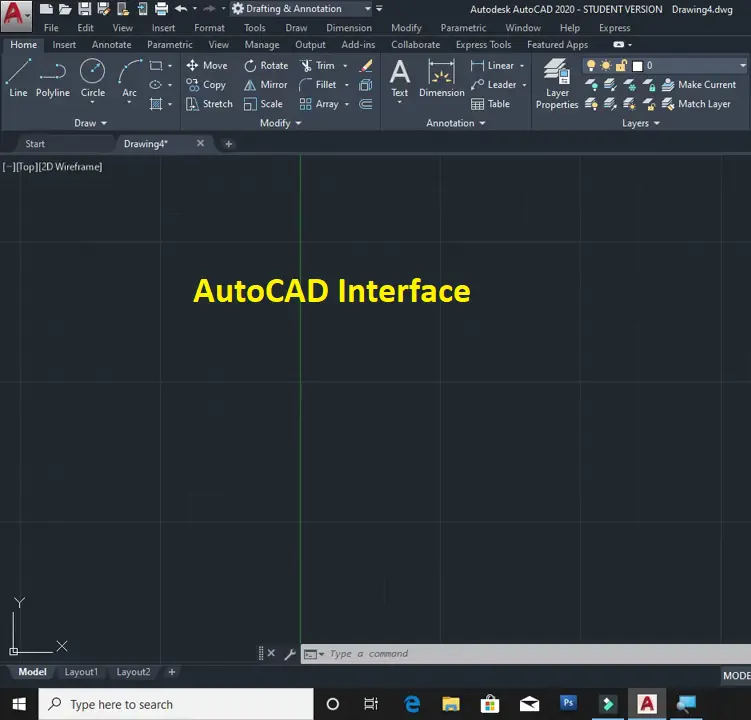
1. First of all, Open AutoCAD.
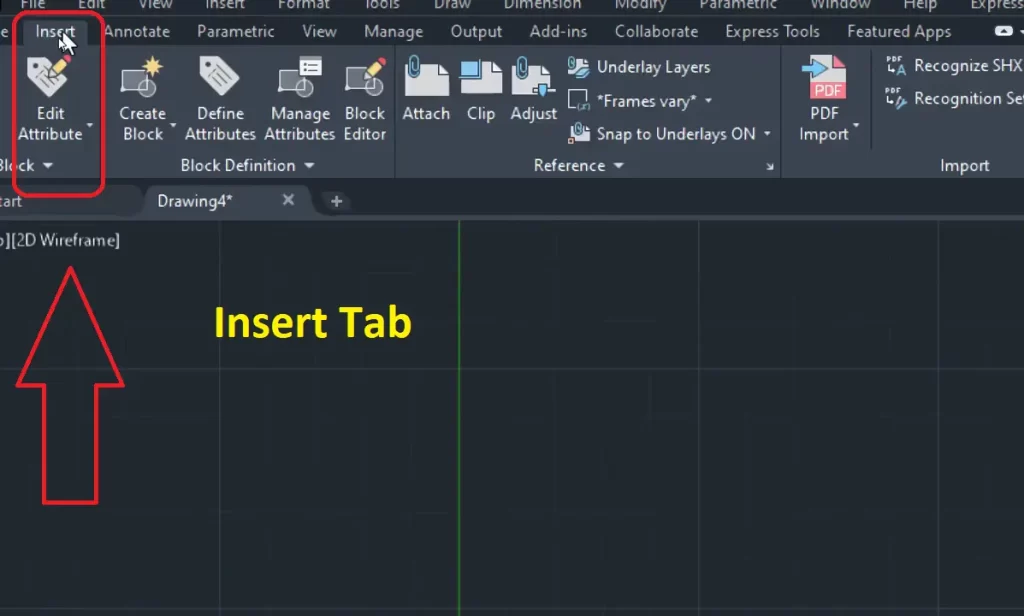
2. Then click the Insert tab, then the references panel & then Attach.

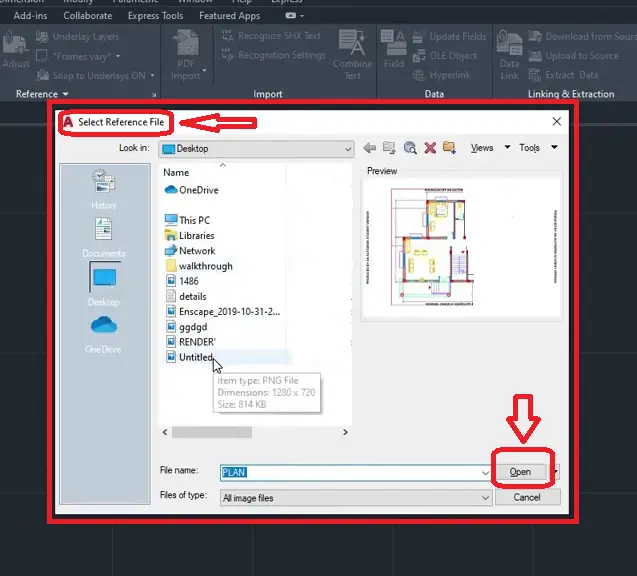
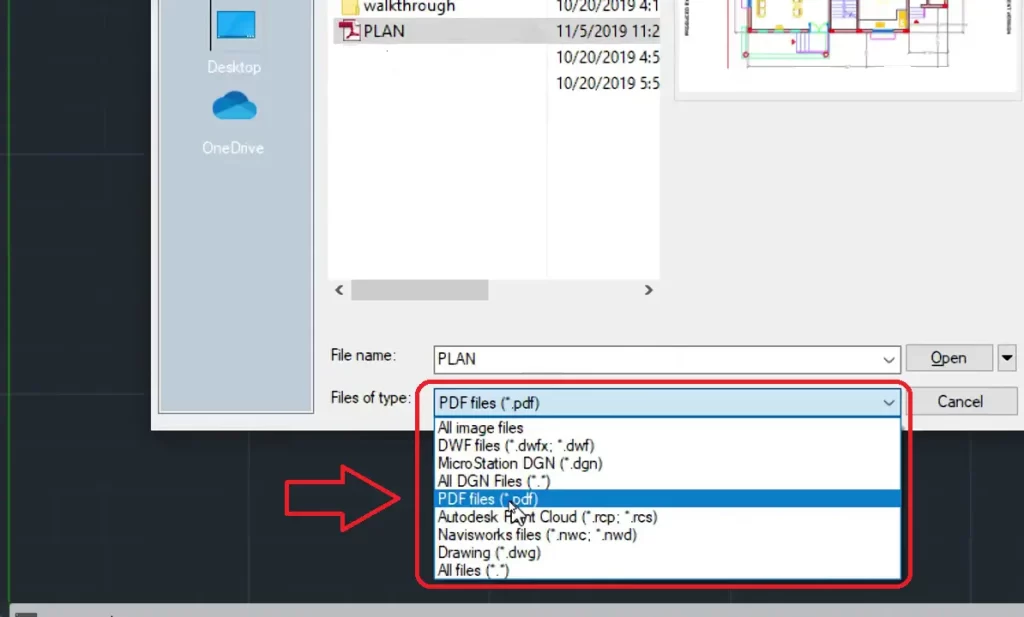
3. In the Select “Reference File exchange box, select the “PDF document” you need to join. Then Click to Open.
4. In the Attach PDF Underlay exchange box, select one page, otherwise, use SHIFT/CTRL to choose numerous pages.
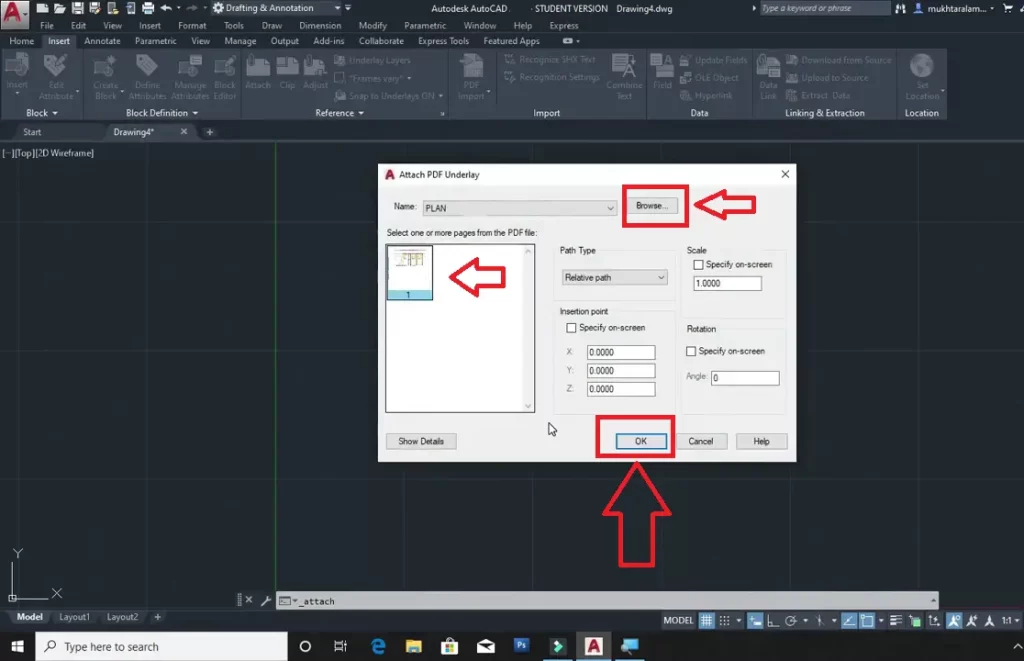
5. Utilize one of the accompanying techniques to indicate the addition point, scale, or revolution of the underlay document:
6. Select Specify On–Screen to utilize the guiding gadget toward joining the underlay at the area, scale, or point you need.
7. Clear Specify On–Screen and enter values for Insertion Point, Scale, and Rotation at the order brief.
8. And the last click on OK.

How to convert a PDF to DWG in AutoCAD 2025?
Stage 1: Import PDF to AutoCAD
- Open AutoCAD and make another DWG file
- Click the Insert tab and thusly click the PDF Import symbol, which is situated to some degree halfway on the AutoCAD UI and is on its strip bunch
- The Select PDF File window springs up, prompting you to choose the specific file you wish to open; using the file explorer, peruse the file’s location, pick the PDF file, and click Open
Stage 2: Specify Importation Options
AutoCAD will likewise incite you to choose a couple of import choices to guarantee the importation cycle is essentially as consistent as you would maintain that it should be.
On the Import PDF exchange box, characterize the accompanying boundaries:
- Determine the number of pages to be imported on the off chance that you are managing a solitary-page PDF, don’t stress over this choice
- Pick the scale and turn
- Determine the addition point on-screen
- Characterize the PDF information to import, including the vector math, strong fills, TrueType Text, and raster pictures
- Select the proper choices for the layers – determine whether AutoCAD ought to utilize PDF layers, make object layers, or utilize the ongoing layer
- Characterize the import choices – AutoCAD allows you to check different boxes to characterize how you believe that it should import the PDF. For example, you can pick Import as a block, Join line and curve fragments, and Convert strong fills to lids, and the sky is the limit from there
- Click OK to finish the importation
Stage 3: Save the File
- To complete the change of the PDF to DWG, just save the file utilizing the DWG file design
- On the off chance that these means are confounding, here’s a video that could clear things up
- It is significant that the interaction above just applies to vector PDFs. You can’t import raster PDFs.
Rather, you initially need to change the raster PDF over completely to a picture and hence import it utilizing the underlay capability.
Then, you will then, at that point, need to trace over the raster linework physically.
The cycle is a digit drawn-out, yet assuming that time and real effort are hard to come by, there are outsider programming projects, for example, Scan2CAD that can consequently deal with the interaction.
Whether you decide to deal with raster transformation physically or naturally, a fresh, clean raster picture will constantly be the greatest consideration in deciding the outcome of the change.
So consistently make a point to import the most ideal quality raster PDF that anyone could hope to find, if there just aren’t any vector forms accessible.
How to Import PDF into AutoCAD to scale?
To appropriately scale a picture or PDF after embedding it into AutoCAD
Attempt at least one of the accompanying to endeavor to appropriately
- scale the picture to fit the fitting aspect:
- Utilizing the ALIGN (Command):
- Define a boundary that is at the legitimate length (Ex: If the aspect shows 25′, define a boundary at that length).
- Type ALIGN into the command line & press the Enter key.
- On the other hand, one can find this command on the ‘Adjust’ board on the ‘Home’ tab in the strip.
- Select the picture to scale and press Enter.
- Determine the principal source point, and afterward click the comparing objective point.
- Indicate the subsequent source point, and afterward click the comparing objective point.
- Press Enter to proceed.
- Select Y for ‘Yes’ to scale the objects given the arrangement focuses.
- Utilizing the SCALE (Command):
- Type LINE on the command line & press Enter key.
- Define a boundary that is the ideal length, the picture reference length ought to be then press Enter. (Ex. an entryway would be 3’0″ so define a boundary that is 3’0″). This will be your scaled reference line.
- Select the object to scale & type SCALE into the command line & then press Enter.
- On the other hand, one can find this command on the ‘Adjust’ board on the ‘Home’ tab in the lace.
- Click at the base point, then, at that point, type R for ‘Reference’.
- Click at the primary point again then the second mark of the current picture will estimate type P for ‘Point’.
- Click the primary mark of the referred line drawn, then click the new endpoint then, at that point, Enter.
- Measure the picture and it ought to be the right length.
- Keep Note: The above ideas work best when you can snap to genuine endpoints, crossing points, midpoints, and so on inside the picture JPG or PDF.
Read More: Introduction to AutoCAD. and How to use the AutoCAD command line.
FAQ on How to import pdf into AutoCAD
To import a PDF into AutoCAD, follow these simple steps
1. Clickthe Insert tab, Import panelPDF Import.
2. In the Select PDF File exchange box, determine the PDF file that you need to import and snap Open.
3. In the Import PDF exchange box:
4. If the PDF has various pages, pick the page to import by clicking a thumbnail picture or by entering a page number.
5. Set/clear Specify Insertion Point On-screen depending on the situation.
Keep Note: When this choice is cleared, the PDF is imported at the UCS beginning (0,0).
Set the scale and pivot.
6. Set the choices for bringing in the calculation, filling raster pictures, and TrueType text objects.
Pick what strategy to apply for appointing imported objects to layers.
7. Set choices to control how PDF objects are handled after being imported.
8. Click OK.
9. Indicate the inclusion point whenever provoked.
Lines will become editable calculations and text will become editable text.
The exactness of the resultant AutoCAD content is to a great extent subject to the nature of the first PDF, so results might differ.
PDF underlays in drawings made with past AutoCAD deliveries can be changed over into editable drawing calculations utilizing the PDFIMPORT order.
Preceding AutoCAD 2017, it was unrealistic to change from a PDF file to a DWG file utilizing AutoCAD/AutoCAD LT.
PDF files must be embedded as underlays (outer references). The substance could then be followed and scaled to known aspects, whenever wanted.
Utilizing PDFIMPORT with PDFs made from checked pictures/reports will bring about the formation of a raster picture file, which is then joined to the drawing as an Xref.
The raster symbolism won’t be changed over into an editable calculation.
You can read our Other Articles
- What is AutoCAD Electrical? (99% want to Know)

- AutoCAD Student Teacher Watermark (99% A-Z Tips)
- AutoCAD Earth Ground Symbols (70% Don’t Know)..
- What Computer language was AutoCAD written in? (90% Don’t Know)
- Best 11 laptops for AutoCAD (100% You Like)

- Autodesk Takeoff 2025 | 80% of People Don’t Know (July 2025)

- AutoCAD Section Line | 100% You Don’t Know July 2025
- AutoCAD shortcut keys (80% New keys don’t Miss) July 2025
- AutoCAD 2025 software price in India (99% it’s Confusing) July 2025
- How does Autodesk clear temp files? (100% Legit Tips) July 2025


Leave a Reply